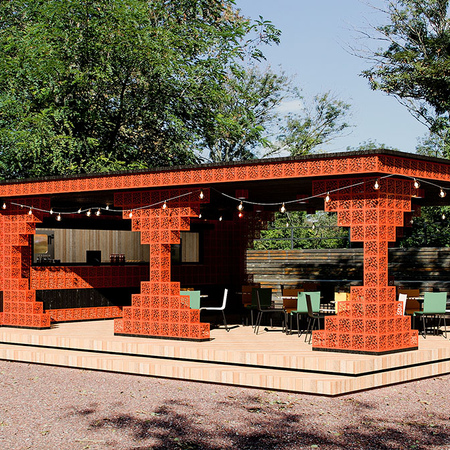
Outside, your stand meets wind, uneven ground, rain, and crowds. A modular system like Cubik.one gives you a stiff frame and panels; real stability comes from how you place it, where you add weight, and what you fix it to. The goal isn’t heavy engineering—it’s a simple routine you can repeat from site to site so the same kit feels safe, tidy, and reusable.
Read the spot first: ground, wind, and flow
Before thinking about anchors or blocks, walk the location like a customer would. Look down, look up, and look around.
Most city terraces and plazas are concrete or pavers; sometimes you’ll get compacted gravel or a bit of lawn. Flat, firm, and drained areas make life easy. If the slab is pristine, plan to protect it with rubber or felt pads under anything heavy. If the surface is soft, expect a bit of “give” and plan extra weight or ground screws.
Wind is the big variable. Solid skins and big banners act like sails; perforated panels and small gaps let air pass and keep the structure calmer. If you can, point the long side of the pavilion along the usual wind direction, not against it. Put your counter or entrance on the lee (more comfortable for staff and visitors), and avoid creating “pockets” where gusts get trapped.
Quick look-around checklist
- Ground: firm, level enough, no puddles after rain.
- Wind: which way are flags leaning? Are trees moving or still?
- People flow: where will the queue form, where do kids run, where do cleaners drive trolleys?
- Obstacles above/below: lights, cables, drain covers, sprinkler heads.
Tip: If you feel you’d happily sit with a coffee in front of the stand, it’s probably the right orientation. If you’re bracing yourself against the breeze, rotate or open a gap.
Choose a simple anchoring plan
You’re solving three things: sliding, tipping, and lifting in a gust. Pick a method that suits the surface and the rules of the venue, then make it look good.
What usually works
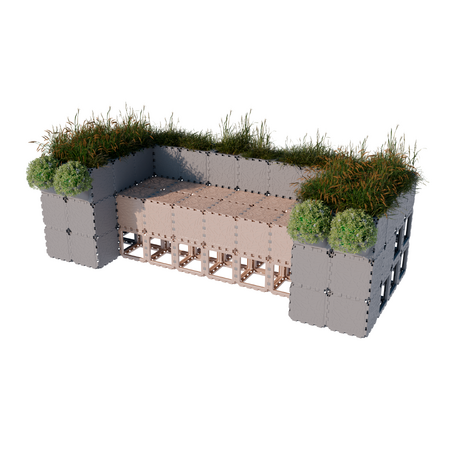
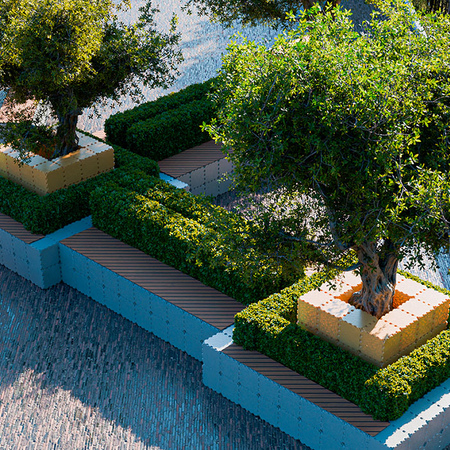
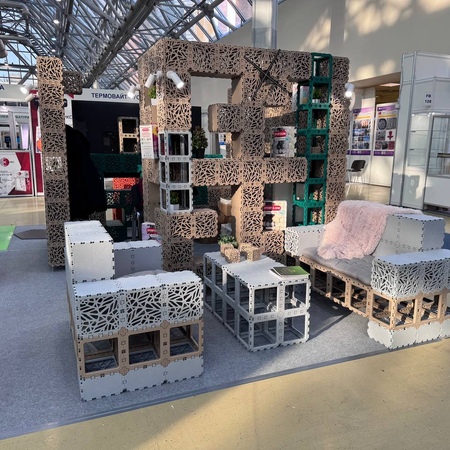
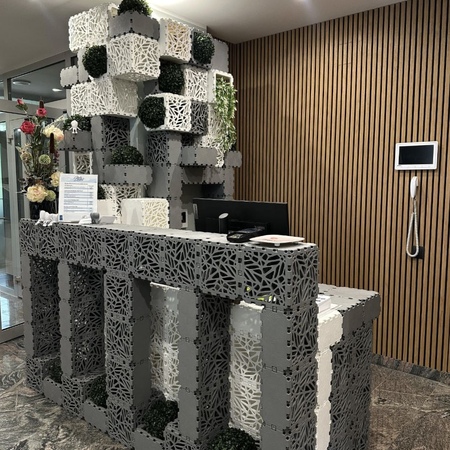
- Ballast you can see (concrete/iron blocks) or ballast that looks like furniture (Cubik.one planters and benches filled with soil or sand). Great when the venue forbids drilling.
- Base plates with anchors into concrete or heavy pavers. Clean and very solid - ask the venue about permissions.
- Ground screws/earth anchors on lawn or compacted gravel. Quick, tidy, no wet works.
- Guy lines (safety cables) for the windward face when you add large solid panels or a canopy. Keep them visible with sleeves so nobody trips.
Place weight in the corners and along the windward edge, not all in the center. Keep the center of gravity low - planters are perfect for that and double as zoning. If you know a site is breezy, plan more weight than you think, then hide it: two planters per corner look better than a bare block.
Simple selection guide
- Smooth pavers, no drilling allowed → pads + ballast/planters; add short, tidy guys if you mount a big banner.
- Concrete slab, drilling allowed → base plates + anchors; add one or two guys on the windward side for long runs.
- Lawn/gravel → ground screws in the corners + low ballast inside the footprint.
Tip: Bring a small “anchoring kit” box: rubber pads, short straps, two compact guys with bright sleeves, a handful of felt squares, and a marker for labeling points A/B/C. It saves you a trip back to the van.
Install & care: a repeatable routine you’ll actually use
Think of stability as a habit you run every time, not a one-off calculation. The routine is short and keeps the kit ready for reuse.
How to build it on site (realistic flow)
Arrive, mark the corners, and check level with a small bubble or app. Build the frame in sub-assemblies; lock clips and check the diagonals so it’s truly square. Add anchors or place ballast after the geometry looks right—corners first, then mids. If you use guys, tension them like a guitar string (firm, not bending posts) and keep them out of walk lines. Finish with panels, screens, planters, and any canopy; then give the whole thing a gentle “shake test.” If it sways, add a little weight to the windward side or open a small relief gap.
Five-minute inspection (do it daily if the stand stays up)
- Clips tight, no panels humming in gusts.
- Weights still touching the pads; straps not slack.
- Guys intact, sleeves on, nothing rubbing a sharp edge.
- Canopy has no water pockets after rain; drains are clear.
- Cables and lights are rated for outdoor use; no trip hazards.
When the forecast shouts wind, act early: drop the banner or the fabric roof, add two more weights at the windward corners, and re-check every strap. It’s faster to prevent movement than to fix a scare.
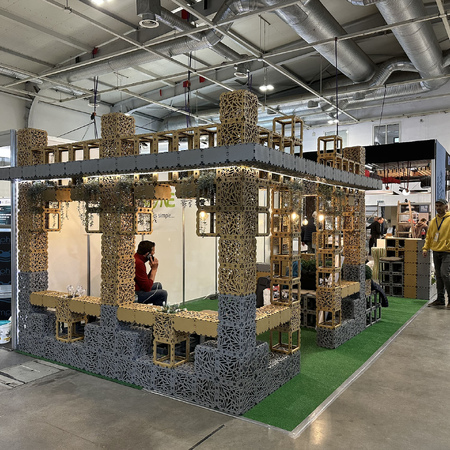
Where this fits with Cubik.one
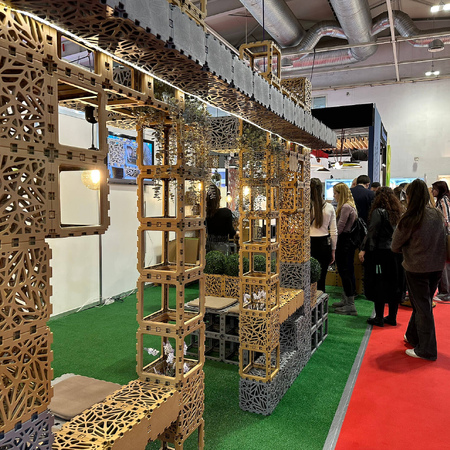
The Outdoors layouts give you predictable points for plates, planters, and cross-bracing. Mini-Cubiks (1:2.5) are a cheap way to test where you’ll need weight or gaps before you ever load the van. And because the modules are reusable, it pays to protect finishes - pads under blocks, felt under plates, tidy cable routes - so the same kit looks fresh next weekend.
Tip: Print a one-page “Anchoring & Checks” sheet and keep it in the OPEN FIRST pouch. Same boxes, same labels, same order -your crew will do it on autopilot.
Closing thought
Outdoor stability isn’t about one giant block - it’s about a few smart choices you repeat: read the spot, choose a tidy anchor plan, and run the same install/check routine. Do that, and your modular pavilion will feel solid, look good, and stay ready to reuse all season.
_450x450_390.jpeg)