Why a modular pavilion?
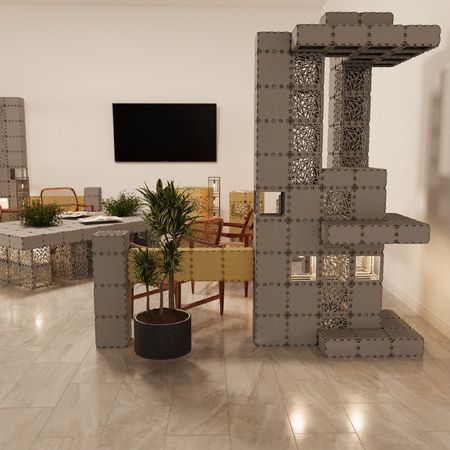
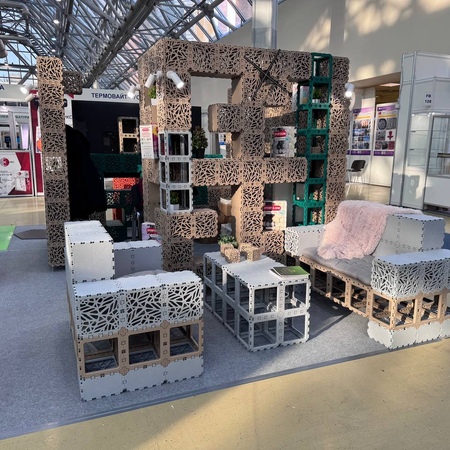
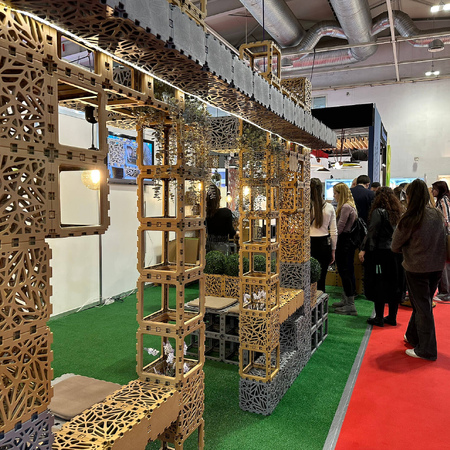
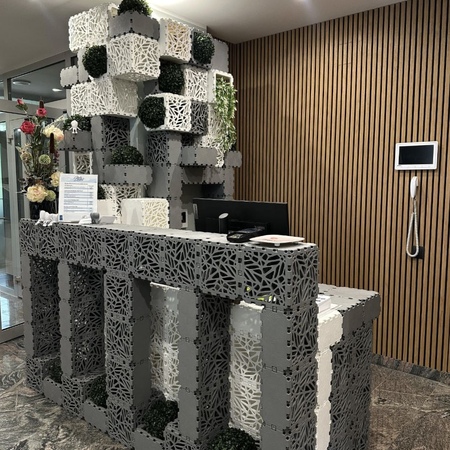
Unlike one-off timber or metal builds, a Cubik.One pavilion is a reusable kit. Assemble a clean, stable structure in hours, then reconfigure the same modules into a lounge, bar counter, privacy screens, planters, or a canopy for next season. Outdoor-ready components and finishes are selected for stability and longevity when used as designed.

Before you start: measure & plan
- Confirm footprint & goals. Measure your terrace or garden zone (length × width), note sun path and prevailing wind. Sketch desired uses: shade + seating, dining corner, pop-up bar, or mixed.
- Check ground conditions. Flat, firm surfaces (concrete, pavers, compacted gravel) are ideal. For lawns/soil, ensure level, drained spots and plan anchoring where needed.
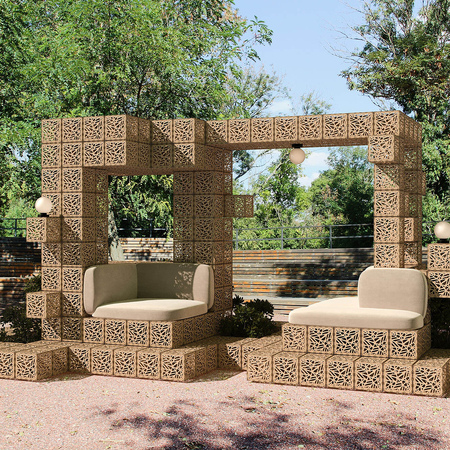
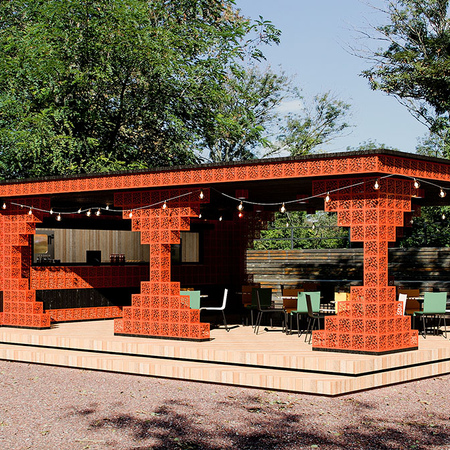
- Pick your starting kit. Browse Outdoors for ready layouts (pavilion, pergola, lounge) and see a similar build: Outdoor lounge zone. You can start small and expand later with the same system.
What you’ll need (tools & materials)
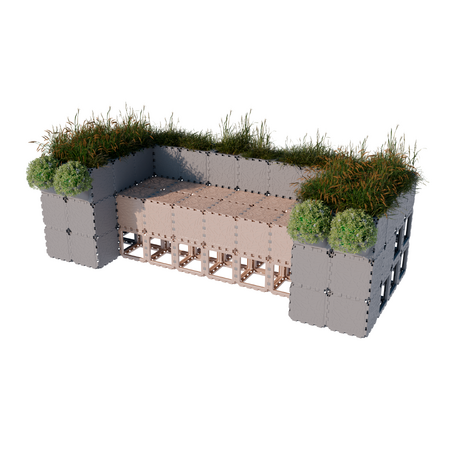
- Cubik.One modules for your pavilion footprint (posts/frames, connectors/clips, roof grid, optional side screens, planters/benches).
- Basic tools: soft mallet, level, tape measure, protective gloves; optional screwdriver set for accessories.
- Anchoring & pads (site-specific): weight plates or anchors compatible with your substrate; rubber or felt pads for delicate surfaces.
- Shade elements (optional): canopy fabric or slatted roof panels; side screens for wind/privacy.
- Lighting & décor: low-voltage string lights, clips, cable ties; outdoor cushions for seating modules.
Weekend timeline (realistic)
Saturday — base, posts, and roof grid
- Prepare the area (30–60 min). Clear debris, check level, mark corners with painter’s tape or chalk.
- Dry layout (30 min). Place modules on the ground in the planned footprint to visualize spans, entrance, and seating zones.
- Assemble base & uprights (60–120 min). Start from a corner; build stable segments and connect them with clips. Check level and squareness as you go.
- Add roof grid (60–90 min). Install cross-members and test fit the canopy or slats. If using shade fabric, pre-tension lightly; final tensioning comes last.
- Site-specific stabilizing (30–60 min). Add pads/weights/anchors per substrate and exposure. Leave fine tuning for Sunday after a night’s rest.
Sunday — shade, seating, and finishing
- Fit shade & side screens (45–90 min). Tension the canopy, attach screens on wind-ward sides, and verify head clearances.
- Configure seating & tables (60–120 min). Use modules to create benches, corner sofas, or a bar counter. Keep passages ≥90 cm; leave 60 cm chair pull-back.
- Lights & greenery (30–60 min). Add planters, route cables neatly, and set warm lighting for evening use.
- Final checks (20 min). Shake-test joints, verify anchors, open/close paths, wipe down surfaces, and enjoy.
Assembly basics (quick reference)
- Repeatable steps: snap/connect, level, lock — the system uses consistent joints you’ll repeat across the build.
- Build in sub-assemblies: pre-assemble wall or roof segments on the ground, then connect to the main frame.
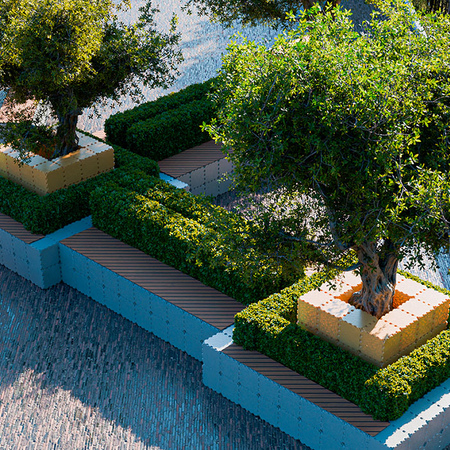
- Expand later: add bays, swap side panels, extend roof over a dining zone, or convert a wall into planters.
Need visual guidance? See the assembly answers in our FAQ (e.g., “How to assemble an object from Cubiks?”, “How to connect with clips?”, “How long does assembly take?”).
Design ideas you can copy
- Weekender Pavilion (3×3 m): roofed square with two open sides, rear wind-screen, integrated planter bench.
- Dining Pergola (3×4.5 m): three-bay roof, lateral privacy screens, narrow console bar along one edge.
- Lounge + Bar (3×6 m): two-bay lounge with corner sofa + one-bay bar counter; add side screen for dusk breezes.
Outdoor care & safety
- Weather & wind: choose anchoring suited to your site; in exposed locations add ballast and screens on the wind-ward side.
- Seasonal tweaks: swap panels for airflow in summer; add screens in shoulder seasons; store fabric canopies in storms.
- Cleaning: wipe with mild soap; avoid harsh abrasives; inspect joints and anchors periodically.
From garden to events — reuse the same kit
After summer, reconfigure your pavilion into a party lounge, photo wall, or market kiosk. The same modules can serve on terraces, at pop-ups, or as an outdoor office nook. Start small, scale on demand — that’s the advantage of a modular system.
Ready to start? Explore modular outdoor pavilions & garden structures and bookmark the FAQ for step-by-step answers. For inspiration, see our Outdoor lounge zone concept and adapt it to your footprint.
_450x450_390.jpeg)