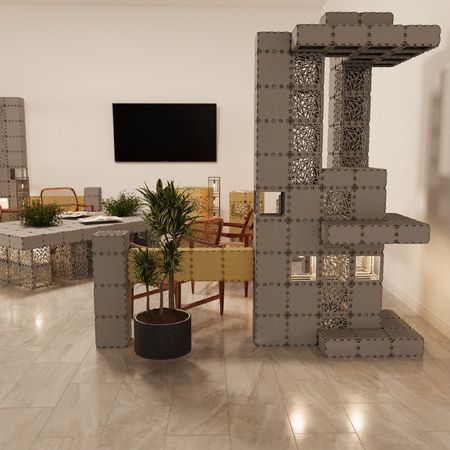
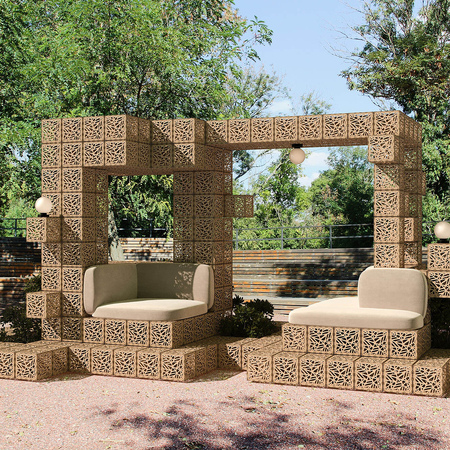
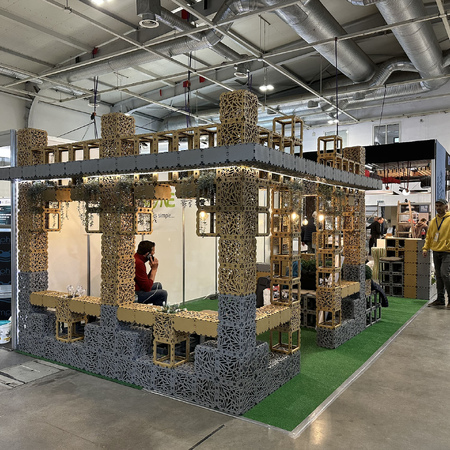
A modular booth is meant to travel. Pack it right and you’ll protect finishes, speed up load-in, and make tear-down repeatable. Use a simple plan—label by zones, pack in build order—and the same kit will serve show after show.

Before you start: plan & label
A few minutes of planning will save hours on-site. Decide how you’ll move the kit, how boxes will be labeled, and in what order they’ll be opened so unpacking mirrors assembly. Keep it simple and repeatable—your future self will thank you.
- Confirm access & limits. Note loading dock or street access, lift size, door widths/heights, approved time slots, and whether pallets are allowed.
- Choose transport early. Van vs. pallet changes case sizes and total height; sketch how cases will stack and strap.
- Map build order → box order. Pack so the first things you assemble come out first (frames → panels → lighting → graphics → tools last).
- Create a simple labeling system. One color per zone (Frame/Panel/Lighting/Tools), large A5 labels on five sides, unique case code, and a QR linking to the contents list.
- Standardize small parts. Use clear boxes per zone (A/B/C) with a spare set; print counts on the label (e.g., “Clips: 120”).
- Assign owners. Who checks inventory, who labels, who straps cases, who signs off the packing list. Keep a one-page checklist in each case.
- Photograph everything. Quick photos of case interiors before closing—this speeds repacking at tear-down.
What you’ll need (tools & materials)
Pack light but smart. Aim for sturdy cases, clear labels, and a tiny kit you can grab first at load-in. Protect graphics and finishes; keep small parts together; make every box self-explanatory.
- Cases & protection. A few rigid cases or crates with simple dividers/foam and edge guards; stretch wrap and two ratchet straps per case.
- Labels & list. Large labels (readable from 2-3 m), a waterproof marker, a short packing list tucked inside and mirrored on the lid; a handful of zip ties.
- “First-Open” pouch. Knife, tape, spare clips/fasteners, gloves, and 2-3 cable ties-packed last so it comes out first.
Tip: If a case has mixed contents, add a bold first line on the label: “Opens at Step 3 (Panels)” - it keeps unpacking in sync with your build order.
Show timeline (realistic)
Think of your show as three short phases. Keep them tight, repeatable, and documented once—then reuse the same routine all season.
Pre-show (T-3…T-1). Do one calm pass: confirm inventory, protect graphics, and pack by zones so the first items you assemble are the first out. Test-fit everything in the van or on a pallet; if something rattles, it will rub and mark finishes on the road.
Load-in day. Land, unload by zones, and stage a clean prep area (cardboard or mats under panels). Unpack in build sequence and keep packaging tidy in one “return” case—you’ll need it later. A 2-minute huddle saves 20 minutes of wandering.
Tear-down. Reverse the order: lights → panels → frames. Quick wipe before packing so dust doesn’t travel. Re-pack by the lists and photograph each case closed. Note damages immediately—future-you will order replacements on time.
Pro tip: Put a timer on each phase the first time you run it. Those numbers become your baseline for staffing and vehicle booking at the next show.
Packing basics (quick reference)
Keep it boring—in the best way. Tight fit, no rattle, clear labels, and photo proof make the whole kit predictable. Put the heaviest items at the bottom, isolate graphics and lighting in their own cases, and label five sides so handlers can read a box from any angle. Small parts live in clear boxes by zone (A/B/C) with counts on the label—“Clips: 120”—so you spot shortages instantly. Shoot a quick photo of each case interior before closing; that image becomes your repacking guide at tear-down.
Tip: If a case must mix items, tape a simple “unpack order” card inside the lid—e.g., “1) Frames, 2) Braces, 3) Caps.” It stops frantic rummaging on show day.
From show to next — reuse & storage
Treat the end of the show as the start of the next one. Wipe dust before boxing, dry any soft goods, top up consumables (clips, ties, labels), and log damages with photos while they’re fresh. Store cases off the floor in a dry, shaded spot; stack heavy low and keep graphics flat with interleaving sheets. A 10-minute inventory update now prevents a 2-hour scramble next month—your future team will thank you.
Wrap-up: Pack to your build sequence, label so anyone can follow it, and document once. Do that, and the same modular kit will travel cleanly from show to show—fast in, fast out, and ready to reuse.
Ready to start? Share your booth footprint via Free Design, and we’ll map your boxes, labels, and build order—then grab an Exhibition kit and our one-page Packing Checklist to run the same smooth routine at your very next show.


_450x450_390.jpeg)
