In today’s ever-evolving world of interiors, adaptability and creativity go hand-in-hand. For architects, designers, and DIY enthusiasts looking for a solution that combines flexibility, durability, and aesthetics, Cubiks provides a revolutionary modular system. Whether you’re designing office partitions, display stands, or custom creative structures, mastering the Cubiks assembly process can unlock unlimited possibilities.
Below, we’ll take you step-by-step through assembling, connecting, and disassembling Cubiks cubes. Plus, we’ll share expert tips for advanced builds to help elevate your projects.

1. What Are Cubiks and Why Use Them?
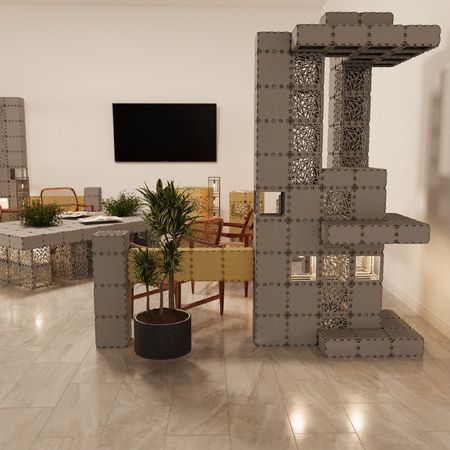
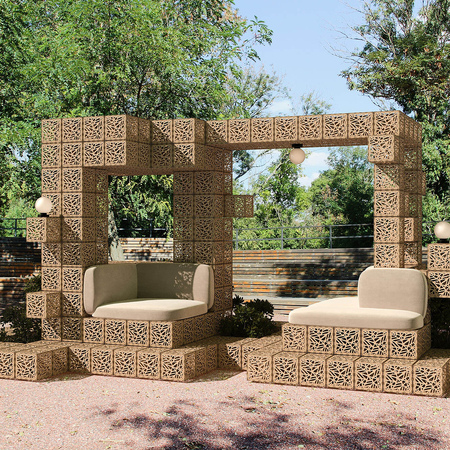
Before we dive into the instructions, let’s highlight why Cubiks stands out. Each module is designed to be lightweight, strong, and incredibly easy to handle. These cubes are constructed from high-quality, environmentally friendly materials, ensuring that every piece fits together seamlessly. The versatile design allows for endless configurations, making it suitable for professional workplaces, retail displays, exhibitions, and home interiors.
Cubiks cubes are also reusable. This means you can disassemble and redesign as your needs change—making them a sustainable choice for long-term use.
2. Getting Started with Cubik Assembly
Tools and Components You’ll Need
Each Cubik system comes with the following:
- Modular panels (for the cube walls, flooring, or shelving)
- Corner connectors (to join the panels)
- Connector rods/clips (to stabilize the structure)
- Optional accessories such as locks, wheels, or decorative finishes (depending on your build)
Pro Tip: Although Cubiks are designed to be assembled tool-free, having a multipurpose tool like a rubber mallet or screwdriver on hand for minor adjustments can be useful.
Step-by-Step Instructions for Basic Assembly
- Set Up Your Workspace:
Choose a flat surface with ample space to lay out the cubic panels and connectors. Ensure there’s no debris to avoid scratches on the panels. - Attach Corner Connectors to Panels:
- Begin by inserting corner connectors into the panel edges. These connectors are built to snap into place without tools, creating clean edges at every corner.
- Align the connectors carefully to ensure the cube stays symmetrical.
- Form a Cube Frame:
- Connect the panels one by one, snapping the corners into place until four walls stand upright. Add a top or bottom panel if building a closed system.
- Verify that all corners are securely connected before proceeding.
- Reinforce Connections:
Use the included connector rods or clips to secure the junctions further. This ensures maximum stability, especially for taller or heavier builds.
Pro Tip: Use the click-and-lock feature of Cubiks to guarantee secure joins—it’s built to support significant weight without compromising form.
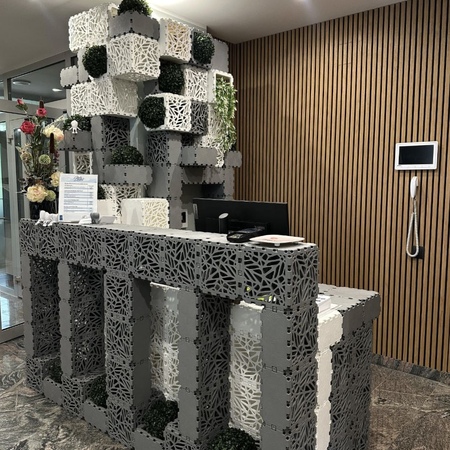
- Add Custom Elements (Optional):
Integrate shelving or sliding doors based on your project’s design. These add practicality and enhance functionality for office or retail use.
3. Advanced Build Techniques for Creative Structures
Once you’ve mastered the basics, you can progress to more elaborate configurations. Cubiks are designed to be modular, meaning you can combine multiple cubes to form larger systems.
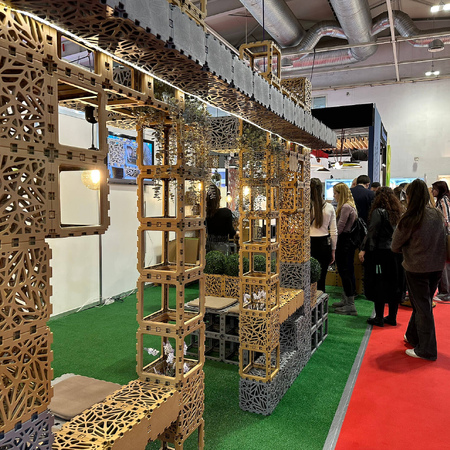
Building Taller Structures
- Ensure a strong base before stacking cubes. Begin on a hard, level surface to avoid tilting.
- Use tension rods or stabilizing brackets (available in the accessory kit) to secure multiple layers.
- If your design exceeds three levels in height, anchor the structure safely to a wall or brace for extra support.
Pro Tip: For complex builds, map out your design digitally or sketch a plan to visualize weight distribution and structural integrity.
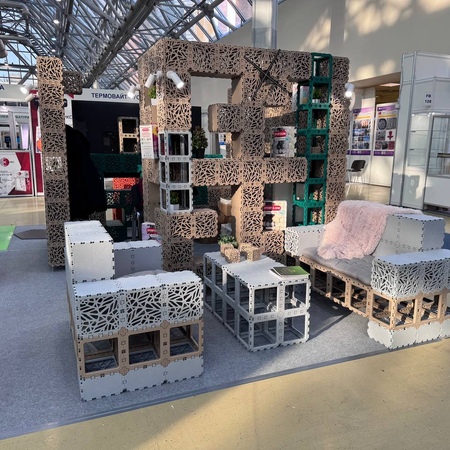
Creating Dynamic Shapes
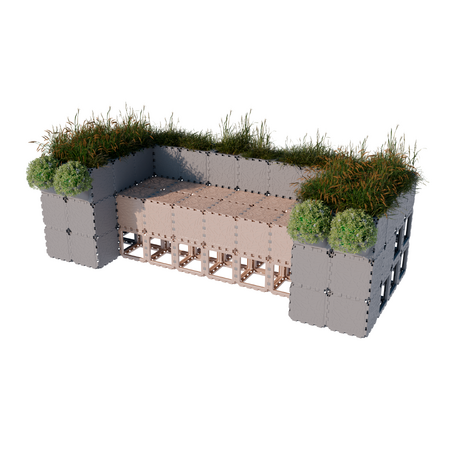
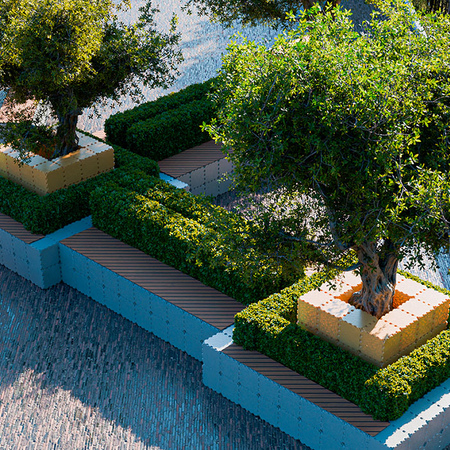
Cubiks are not limited to cubic forms. Offset cubes to create tiered shelves, zigzag partitions, or angular designs. Experiment with negative spaces to let your creativity shine while maintaining functionality.
Mobile Configurations
If mobility is essential, add optional wheels to your Cubiks base. This is ideal for creating portable partitions or temporary displays in offices, events, or galleries.
4. How to Disassemble Cubiks
Disassembly is just as straightforward as assembly, which is a huge advantage for reusability.
- Remove Custom Elements:
Begin by detaching accessories like doors, shelves, or locks. - Unclip Connection Rods or Clips:
Carefully remove reinforcement rods or clips to unlock the panels from one another. - Separate Panels from Connectors:
Gently pull the panels apart from the corner connectors. A rubber mallet may assist in loosening snug connections. - Organize Components for Reuse:
Store panels and connectors in a clean, dry area for future projects. Place smaller items like clips into labeled containers to avoid misplacing parts.
5. Tips for Maintaining and Reusing Cubiks
One of the greatest advantages of using Cubiks is their longevity. To keep your system in top condition:
- Clean Regularly: Use a soft cloth and mild cleaner to avoid scratches or buildup on panels.
- Inspect Components: Check panels and connectors for signs of wear after each project, especially after high-load applications.
- Store Thoughtfully: Keep Cubiks out of direct sunlight or areas with extreme humidity to maintain their integrity.
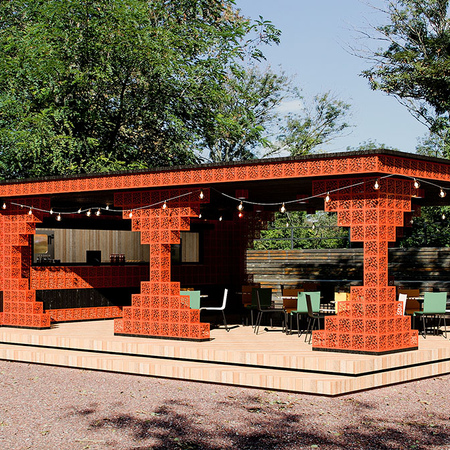
6. Why Choose Cubiks for Your Projects?
Cubiks combines innovation, strength, and versatility into one system that can adapt to any design vision. Whether you’re crafting minimalist furniture, sleek partitions for a modern office, or an eye-catching trade show booth, this modular system empowers you to think outside the box—literally.
Assembling sturdy, lasting structures with Cubiks is not just simple but incredibly satisfying. With this step-by-step guide, you can confidently design, assemble, and disassemble Cubiks-based systems, creating functional and innovative spaces. Mastering these skills opens up endless opportunities for experimenting with custom builds and adapting to changing needs.
If you’re ready to take your design to new heights, Cubiks is your solution for elegant, future-ready modular structures. Whether you’re a beginner or a seasoned builder, the possibilities are limited only by your imagination. Assemble. Innovate. Transform.
_450x450_390.jpeg)