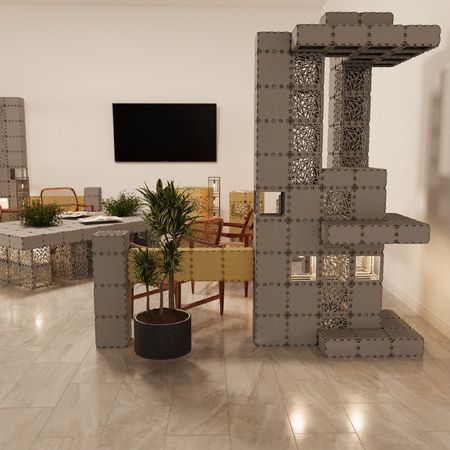
Molte persone vivono la stessa esperienza: hanno un compito, hanno gli strumenti, ma la loro mente è vuota. Vogliono realizzare qualcosa di utile con i cubi, un divisorio, una parete verde, un paravento, un'aiuola, un elemento d'arredo, ma non sanno da dove cominciare o come ideare un progetto. E allora di solito seguono tre strade: disegnano su carta, cercano di immaginarlo "a occhio", oppure comprano i cubi e provano ad assemblarli dal vivo.
Tutti e tre i modi funzionano, ma sono quasi sempre lenti e richiedono molto tempo. La carta non dà il senso della scala e del volume. Non tutti hanno immaginazione, è normale. E il "compra e gioca" spesso si trasforma in caos: molti tentativi, poca chiarezza e alla fine non si è ancora sicuri che l'oggetto stia bene nel proprio spazio.
Pertanto, il modo più pratico è quello di progettare prima in 3D. Cubik.one rende questa operazione particolarmente comoda: potete provare rapidamente diverse opzioni, vedere immediatamente i risultati, limitare la vostra immaginazione al vostro budget e prendere una decisione senza acquisti inutili.
Perché un editor 3D è meglio della carta e degli assiemi di prova
Innanzitutto, la velocità. In 3D è possibile provare 10-20 opzioni in una sola sera: altezze, larghezze, densità, modelli e angoli diversi. Sulla carta sembra "grezzo", ma in 3D sembra la realtà.
In secondo luogo, la scala è chiara. Un errore comune nell'assemblaggio nella vita reale è che l'oggetto finisce per essere troppo massiccio o "perso". In 3D, questo è immediatamente evidente.
Terzo, la rapidità di risposta. Si cambia un elemento e si vede immediatamente come cambia l'intera composizione. Per chi non ha una forte immaginazione artistica, questo è fondamentale: non è necessario "fidarsi", basta guardare.
Quarto: il controllo dei costi durante il processo. Quando ogni cubo aggiunto si riflette immediatamente sul prezzo, il cervello inizia a progettare meglio: il superfluo viene meno da solo e la soluzione diventa non solo bella ma anche economica.
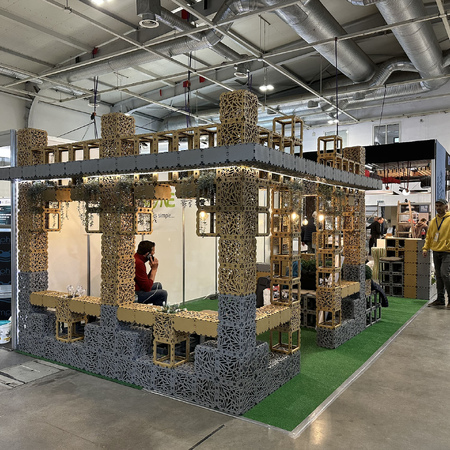
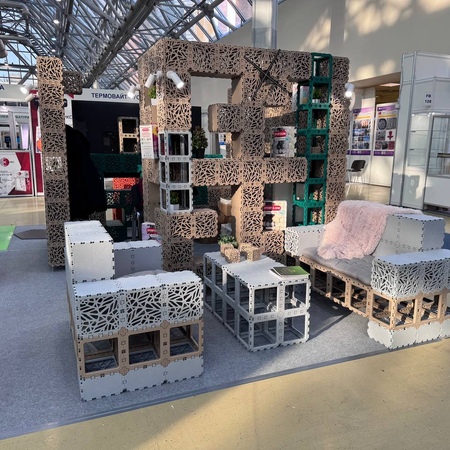
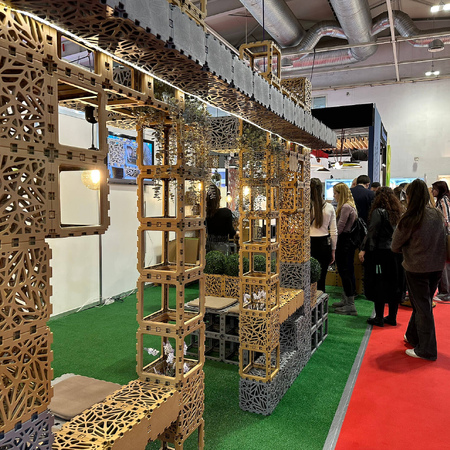
Caso reale: come è nata una parete divisoria per esposizioni
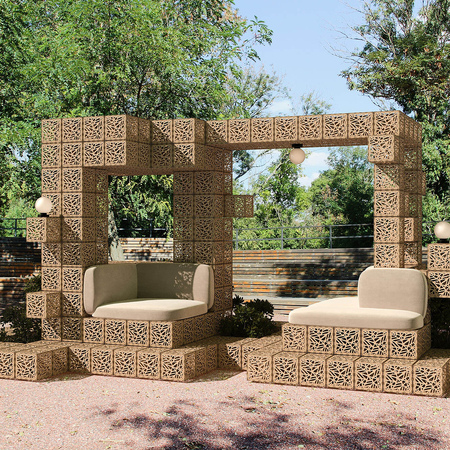
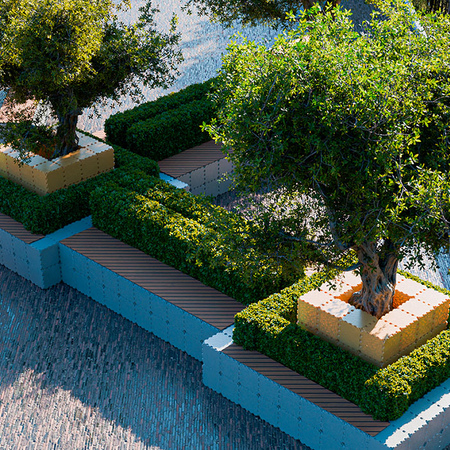
Un buon esempio è la richiesta del nostro partner polacco Ogrodowy Salon. Si stavano preparando per il Garden Expo di Varsavia e volevano uno stand in cui le aree dovevano essere divise. L'idea era semplice: creare una distinzione visiva, ma in modo tale che la struttura stessa dimostrasse che i cubi possono essere utilizzati per realizzare oggetti maturi, ordinati e utili.
Il problema era tipico: "Che cosa dobbiamo costruire esattamente?". - Non era chiaro.
C'era un concetto, ma non una forma.
Poi abbiamo fatto ciò che funziona meglio quando non c'è un'idea.
- Abbiamo descritto il compito e le limitazioni. Dove sarebbe stata collocata la parete divisoria, la sua altezza e larghezza approssimativa, quanto doveva essere "trasparente" e quali aree avrebbe dovuto separare.
- Abbiamo iniziato a progettare in un editor 3D. Non abbiamo cercato la perfezione, ma abbiamo abbozzato rapidamente diverse opzioni: dritto, angolare, più denso, più leggero, più alto/basso.
- Abbiamo valutato l'aspetto e il costo allo stesso tempo. Il prezzo cambiava in tempo reale e questo ci ha aiutato a evitare cubi inutili.
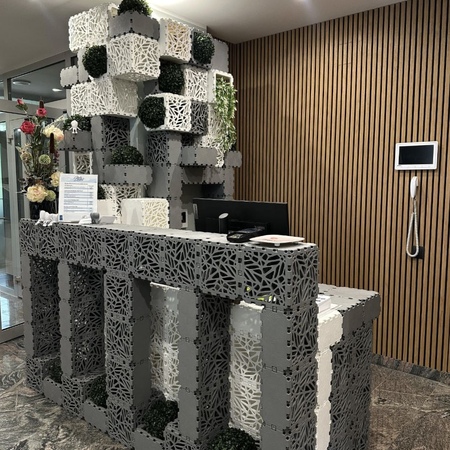
- Abbiamo scelto l'opzione che risolveva il problema, aveva un aspetto pulito e poteva essere assemblata senza inutili complessità.
L'oggetto finale è ora nel catalogo: https://cubik.one/catalog/planters-pots/modular-green-wall-planter/. In questa pagina è possibile aprirlo nell'editor e provarlo in realtà aumentata per vedere come apparirà il design negli interni.
Questo è un punto importante: la combinazione "3D → oggetto reale → anteprima AR" elimina la paura principale. Non si indovina. Vedete.
Come creare un design se non si hanno idee: un algoritmo di 30-40 minuti.
Passo 1. Formulate il compito in una frase.
Ad esempio: "Voglio dividere le aree e aggiungere del verde", oppure "Ho bisogno di un oggetto che blocchi la vista e crei uno sfondo".
Fase 2. Scrivete 3 limitazioni.
Posizione, dimensioni approssimative e requisito principale (trasparenza/densità, verde/non verde, dritto/angolare, mobilità).
Fase 3. Aprite un editor 3D.
Passo 4. Creare 5 opzioni rapide.
Non pensate a quale sia quella giusta. Basta creare forme diverse. Due semplici, due audaci, una "quasi minimalista".
Fase 5. Selezionate le due opzioni migliori in base a due criteri.
Sono visivamente attraenti e rientrano nel budget.
Fase 6. Salvate e inviate il link alla persona che prende le decisioni insieme a voi.
Invece di discutere con le parole, la persona vedrà l'oggetto con i suoi occhi e la decisione sarà presa più velocemente.
Perché calcolare il costo aiuta a progettare meglio
Quando il prezzo viene calcolato immediatamente, l'immaginazione diventa costruttiva. Non si tratta di "modellare cubi per bellezza", ma di cercare una forma che dia l'effetto desiderato con risorse minime. È quasi come i vincoli nel design: non intralciano, ma guidano.
Di conseguenza, non si ottiene un "quadro astratto", ma un progetto che può essere assemblato e il cui budget è chiaro in anticipo.
Pensiero finale
Se avete un compito ma non avete idee, non cercate di indovinare sulla carta e non acquistate elementi "per prova". Per prima cosa, progettate in 3D: esaminate rapidamente le opzioni, vedete come appare, controllate i costi e poi passate al montaggio. È più economico in termini di tempo, meno stressante e porta quasi sempre a una soluzione migliore.
_450x450_390.jpeg)